Step 1: Get a virtual machine up and running for DVRF
This step covers the installation of a virtual machine with the following settings below. The instructions for this post series were done on a Mac with VMware Fusion 8. This is blog post 1 of x on learning with the DVRF project blog post series.
Recommended hardware settings for the virtual machine:
- 2GB of RAM
- 30GB of HD space
- Set up a VM with the above settings and power it up within your virtual machine software (e.g. VMware Player, VMware Fusion, VirtualBox) with the Ubuntu ISO
- In the “Install” screen, select “Install Ubuntu”
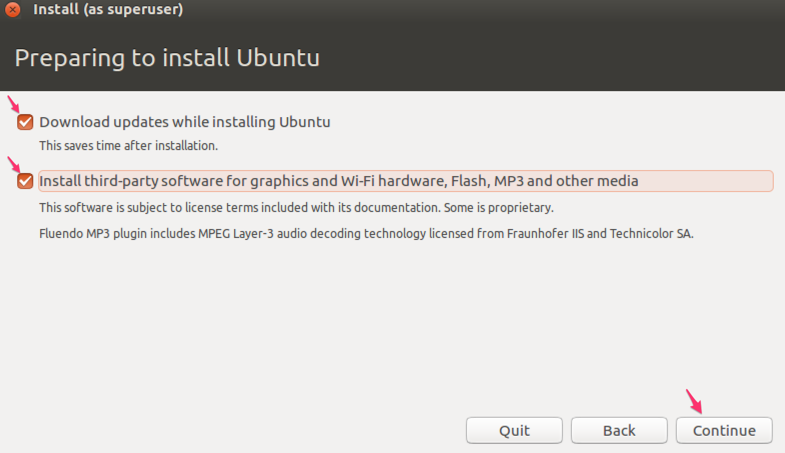
- Check both of the boxes if you agree to the agreement and click “Continue”
- Leave “Erase disk and install Ubuntu” checked and click “Install Now”
- Click “Continue” in the informational popup box
- Set your appropriate time zone and click “Continue”
- Select your keyboard type and click “Continue”. You may have to drag and drop the keyboard selection screen to the left to see the “Continue” button.
- Set your name, username, password, and click “Continue”
- The installation progress will continue in the background which could take a little bit of time
- Once the installation is complete, click “Restart Now”
- Press “Enter” when the screen asks you to do so
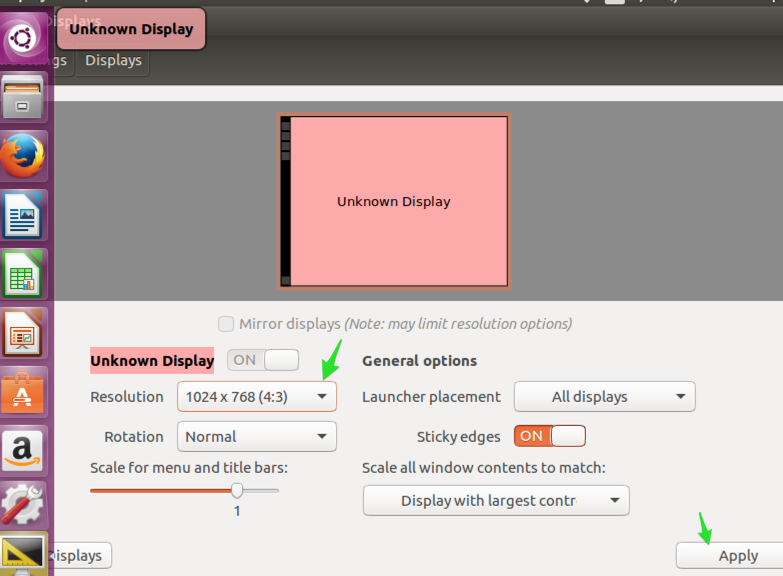
- Log into the VM and change the desktop size to a larger screen if desired
- Change the screen resolution to at least 1024x768, drag the screen to the left and select “Apply”
- Click “Keep This Configuration”
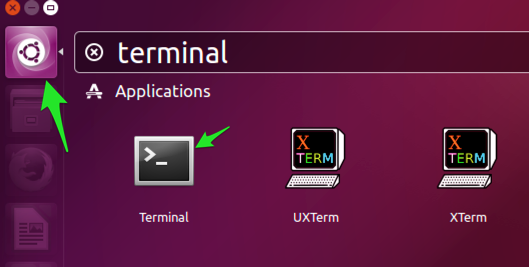
- Click on the “Ubuntu” symbol at the top left corner to search for Terminal
- As you type in “Terminal”, you should see a few options. Click on the first option to open up Terminal.
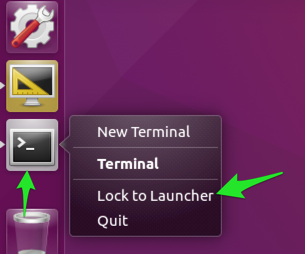
- Right click on Terminal and click “Lock to Launcher”
- Let’s update the system. In Terminal, type in:
sudo apt-get update - Enter in your credentials and you should get a brief set of lines of output. In Terminal, type in:
sudo apt-get upgrade - Enter in “y” and press enter to continue. The process may take a little bit of time depending on the system and internet connection to update all of the packages on the system
- Let’s do the final update. In Terminal, type in:
sudo apt-get dist-upgrade - Enter in “y” and press enter to continue. The process may take a little bit of time depending on the system and internet connection to update the system
- Let’s reboot! In Terminal, type in:
reboot - The virtual machine should be ready to proceed with the next steps!


No comments:
Post a Comment