Step 6: Binary Ninja installation and basic testing
This step covers getting the beta version of Binary Ninja installed onto the system and doing some basic testing. Binary Ninja is a new reverse engineering tool that, at the time of this writing, is out for release! This product looks pretty awesome and will be fun to test out more once the personal license is available. This is blog post 6 of x on learning with the DVRF project blog post series.
Note: The work in this post was performed with the beta version of Binary Ninja. The demo version of Binary Ninja is out, but only supports x86 (not MIPS as in this post). Check it out!
Note: The work in this post was performed with the beta version of Binary Ninja. The demo version of Binary Ninja is out, but only supports x86 (not MIPS as in this post). Check it out!
- When Binary Ninja was downloaded from their servers, the 1.0.294 versions for Windows, Mac, and Linux was the latest beta version available for download.
- Browse to the archive containing the beta of Binary Ninja, right click on the archive and open it up with archive manager. Extract the contents to the same directory and quit the manager.
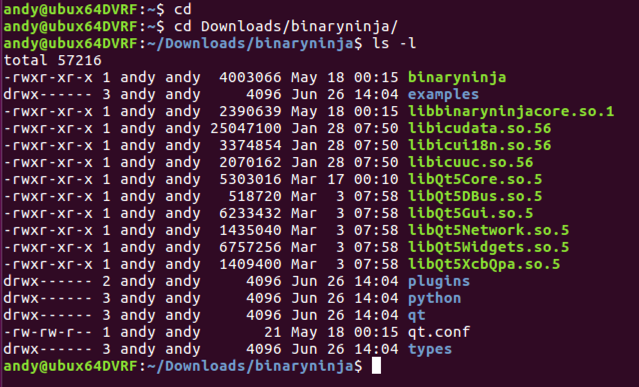
- In Terminal, browse to the directory with the extracted Binary Ninja contents:
- Binary Ninja should check for an updated copy of the program once it’s launched and then do an update. In Terminal, type in:
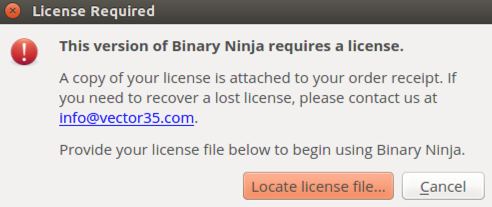
./binaryninja - You should get a popup asking for the license file:
- Click on “Locate License file” and point it to the .dat file you received from the beta (or the full version)
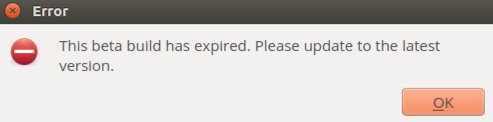
- You should get a popup saying the beta build has expired and will proceed to get the newest copy.
- Click “Ok”
- Click “Ok” to the thank you message
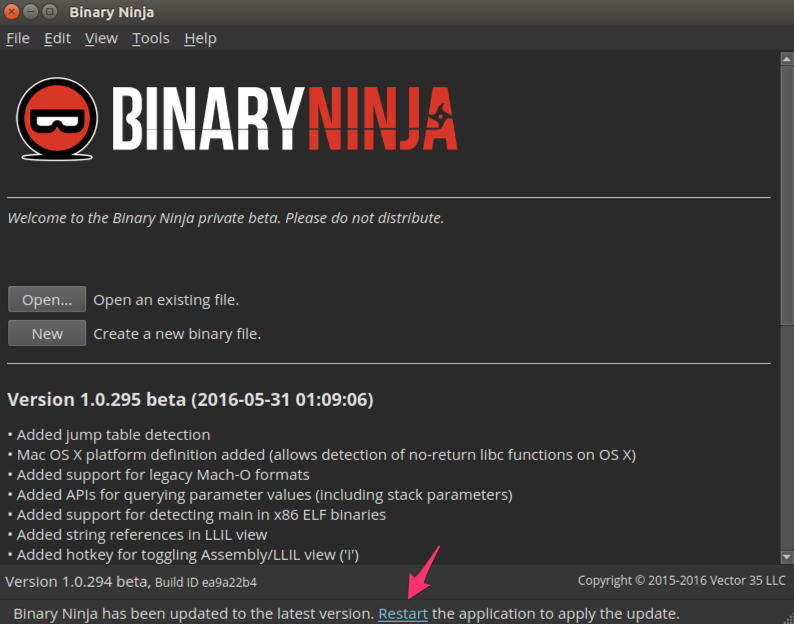
- The update for Binary Ninja will download in the background from the internet. Once the update is downloaded and ready for installation, you should see a highlighted link at the bottom to restart the program.
- Click “Restart” or close the program and rerun the program
- Once Binary Ninja restarts, we should be on 1.0.295 beta which has fixes for MIPS which is very helpful for this blog post series.
- Let’s see what kind of analysis we get with the stack buffer overflow program. On the main screen in Binary Ninja, click on “Open”.
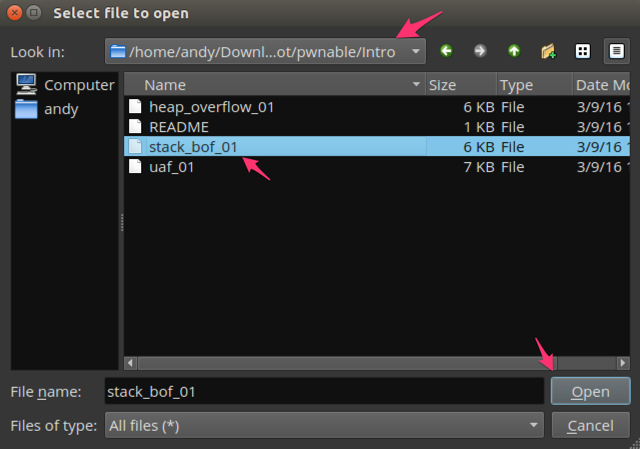
- In the open file dialog box, browse to the pwnable/Intro folder, select the “stack_bof_01” program, and click “Open”
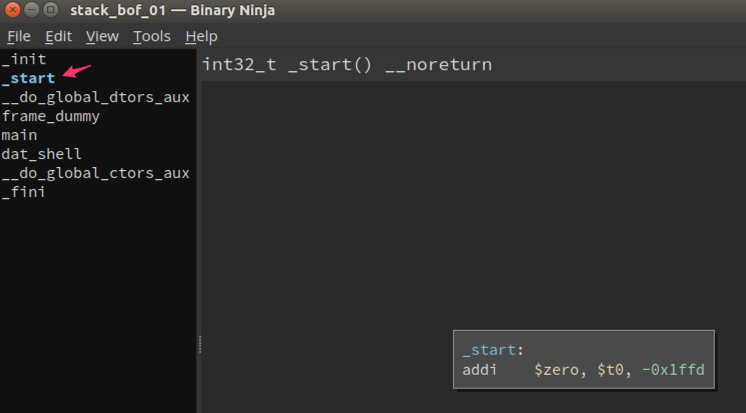
- Binary Ninja starts in the “_start” function and shows the mnemonics in the function
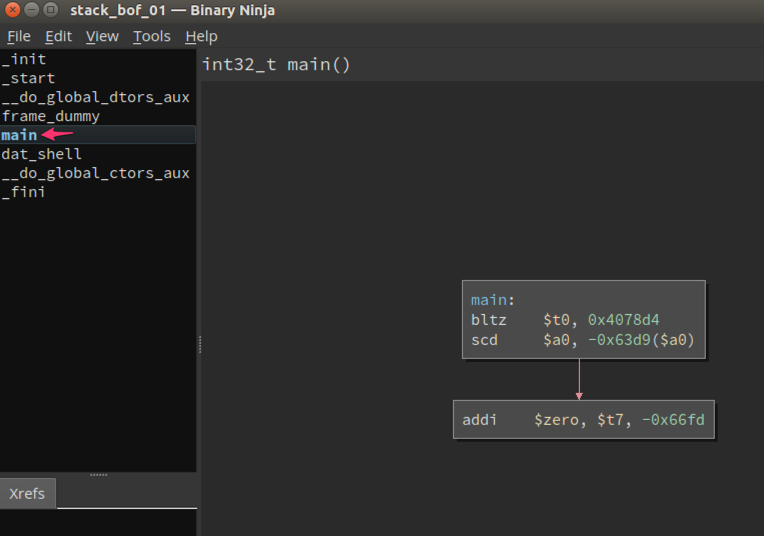
- Double click the “main” function and we can see the disassembly for main. Unfortunately, this is not the correct disassembly for main as we should be seeing a lot more mnemonics.
- We wanted to get the beta of Binary Ninja installed and validate it with one of the pwnable challenges from DVRF. Unfortunately, the beta nor demo for Binary Ninja does not support MIPS little endian at this time. The full version of Binary Ninja does support MIPS and analysis can be done with that. With that, we will set up another analysis tool and explore the MIPS assembly language. For now, we can exit Binary Ninja.

Do you want to hire the best company for reverse engineering? Then you should hire Onsite3D. They provide the best reverse engineering in Houston. They also provide virtual data acquisition, aerial drone surveying, digital site mapping, and 3D laser scanning service. Best reverse engineering Houston, Texas
ReplyDelete