Thursday, October 20, 2016

Fuzzy Assessment: Part 2 - Knowing your way in the SWAMP

The previous post introduced the SWAMP to perform a software assessment on OpenSSH 4.3. The motivation was to see if modern tools and processes could automatically identify the issues called out in the book from manual analysis in 2006 as compared to automatic analysis in 2016. As we saw in the last post, doing a “next next run” process of adding a package and performing an assessment did not produce helpful results.

Let’s take a deeper look at the process to understand more of what is going on. This post will go over the files needed for the build process, explain why more commands are needed in the build process, and change the build process from the recommendation.


Section 1: Let’s take a look under the hood

  1. As we saw in the previous post, when we built the package, the wizard told us to fly, you fools. No. The wizard told us that there was no “Makefile” and in the failure report we received after the assessment indicated that there was no “Makefile”.
  2. The installation instructions from OpenSSH said all we needed to do was, “./configure; make; make install”. From a basic high level view, this process gathers up the various source code files and produces a working binary. Let’s do a level set. Let’s find a “configure” and “makefile” in the OpenSSH directory.
  3. Browse in the file system the folder containing the extracted OpenSSH contents. Or, unzip the OpenSSH 4.3 zip file if you haven’t already.
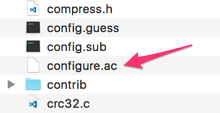
  4. Here we see that there is no regular “configure”


  5. Here we see that there is no regular “makefile”


  6. Those files are like that because…. reasons. No. The configure and makefile files are in those states for portability. The previous post was a run-through of the entire process to get familiar with how things work. We need to understand why the files are like that and how to work with them.
  7. The three articles below really helped me to understand why the commands in the next section needed to be done with the files in the OpenSSH directory.

    https://robots.thoughtbot.com/the-magic-behind-configure-make-make-install

    http://www.ifnamemain.com/posts/2014/Mar/13/autoconf_automake/

    http://markuskimius.wikidot.com/programming:tut:autotools:1
  8. From the above links, we need to do the following:

    autoconf

    ./configure

    make

    make install
  9. Let’s add these options in the SWAMP in the next section

Section 2: Let’s change it up in the SWAMP

  1. Log into the SWAMP at https://www.mir-swamp.org
  2. Click on “Packages”
  3. Click on the name of the package. In this instance we’re using “OpenSSH 4.3 blog”.
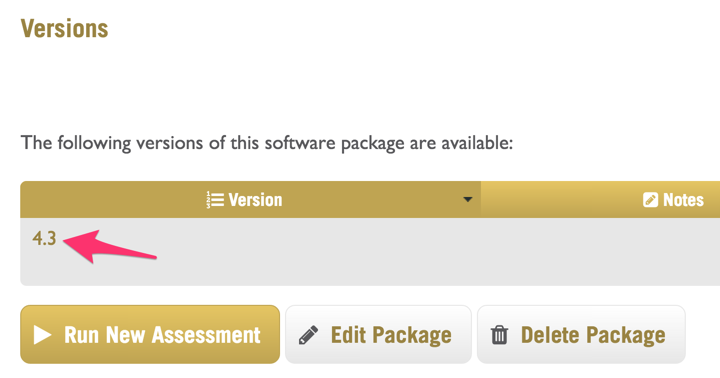
  4. Scroll to the bottom to see the version 4.3
  5. Click on the number. This is an instance where changing the build process is not very intuitive at first.


  6. Click “Build”


  7. Scroll to the bottom and click “Edit Build Info”

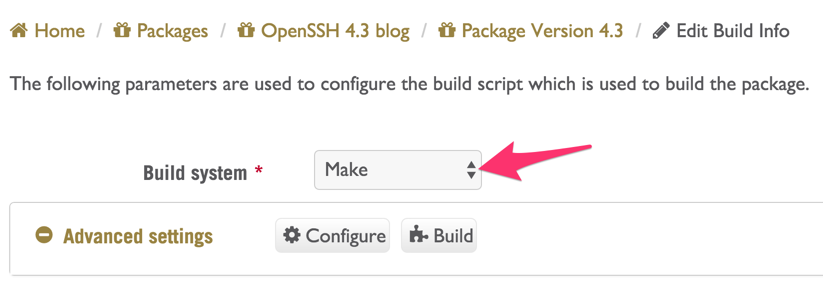
  8. Change the build drop down from “make” to “configure+make”


  9. Now we will get additional fields to play with to change the “configure” process and the “build” process
  10. As a quick peek, scroll to the bottom to see what would run if we stopped here


  11. With the auto-populated things in place now (./configure and make), we just need to add “autoconf” and “make install”
  12. Scroll to the top to the “Configure settings” section


  13. Add in “autoconf; “ before “./configure” as below


  14. At the top, click “Build” to configure this part of the build process
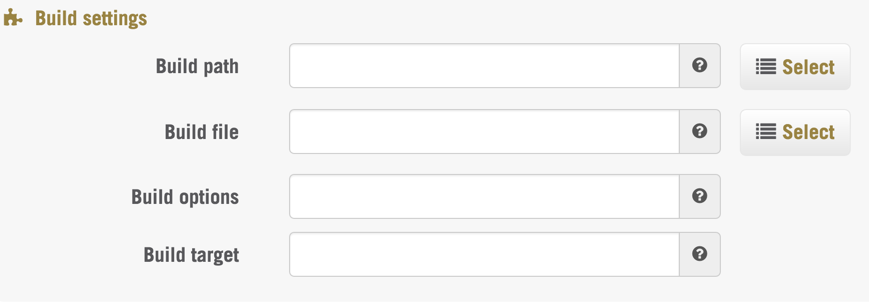
  15. Scroll down to the newly popped out “Build section”


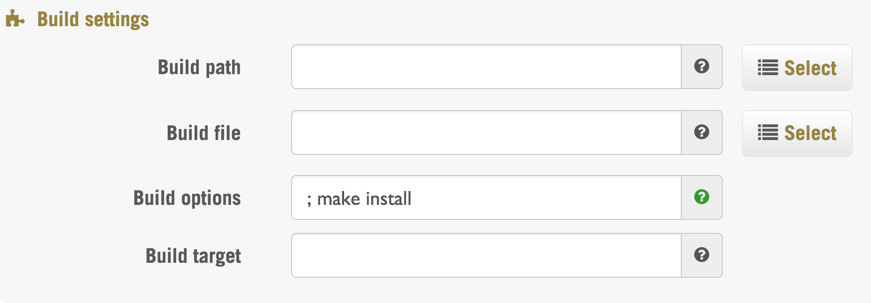
  16. Add in “; make install” in the “Build options” text box


  17. If we scroll to the bottom, we see our new build process

  18. Click “Save Build Info”. Sometimes, I’ve found I need to click this button twice for it to save and progress to the next window.

  19. The output from autoconf will create the necessary “configure” program. The configure program will be able to ingest the “makefile.in” file for the rest of the build process to continue.
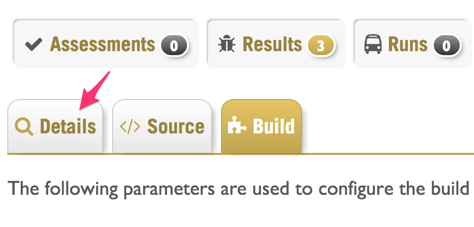
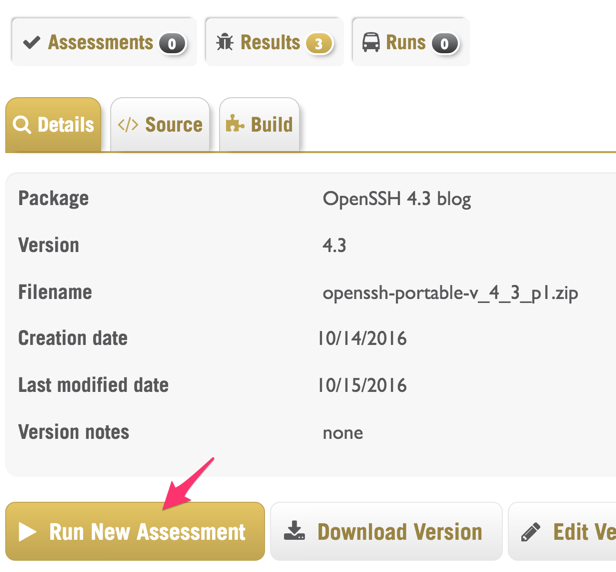
  20. Click “Details”


  21. Click “Run New Assessment”


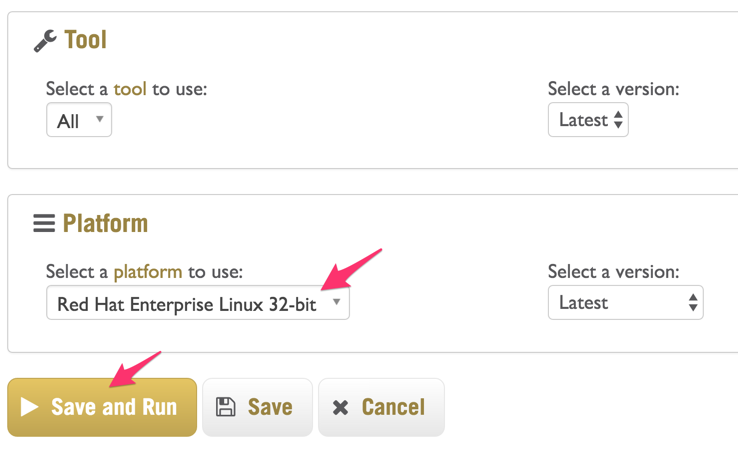
  22. Change the platform to “Red Hat Enterprise Linux 32-bit”, then click “Save and Run”


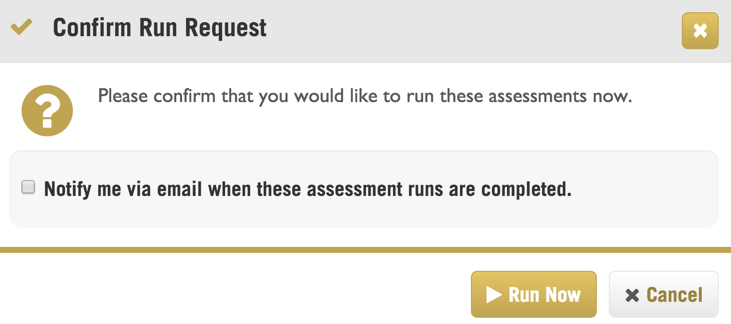
  23. Check the box if you want to receive email notifications and click “Run Now”


  24. Click “OK” in the notification window
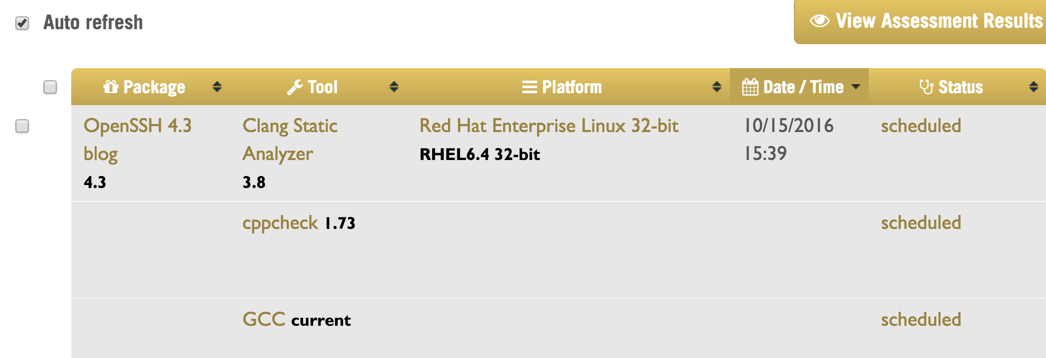
  25. The “Auto refresh” check box may already be checked, but wait for the assessment to pass or fail


  26. Unfortunately, this build will fail as well. But, we are getting closer! :)


  27. Click on the “!” exclamation point on the Clang line
  28. We can see that we get much farther in the process with the automatically generated ./configure file. However, we see an error with ./configure.

    <long section of similar output>
  29. The next posts will address this issue and additional errors that we will run into the farther we get into this process. However, once we resolve these issues, OpenSSH will be built correctly and we will see the results of our work!
Tuesday, October 18, 2016

Fuzzy Assessment: Part 1 - Welcome to the SWAMP

Between the DVRF series and other things in the works, I have been reading “The Art of Software Security Assessment”. I recently finished reading the fourth chapter which concludes with a case study of OpenSSH 4.3. This case study discusses review points for the reader to further explore such as reviewing SSH RFCs along with various OpenSSH C and C header files. Different issues are pointed out to the reader to investigate such as asking the reader if double free vulnerabilities and memory leaks can be identified.

As a point of reference, OpenSSH 4.3 was released in February 2006. While the book also came out in 2006, automated assessment tools have continued to mature. I wanted to know if modern tools today would help provide insight into the vulnerabilities mentioned from security assessments referenced in the book.

There are assessment tools mentioned in the book, but that was ten years ago. Looking at tools available today, there is one particular open source project called SWAMP, which provides tools to assess software available on multiple platforms and languages. Below is an excerpt from their About page:

“The Software Assurance Marketplace (SWAMP) is committed to bringing a transformative change to the national software assurance landscape by providing a national marketplace that provides continuous software assurance capabilities to researchers and developers. By providing software assurance researchers, tool developers, tool users and educators who train our workforce a suite of secure and dependable analysis services, the Software Assurance Marketplace will reduce the number of vulnerabilities deployed in software.”

Unfortunately, getting acclimated to the SWAMP can be confusing. There are a lot of things to click on and documentation is not very straightforward to walk you through the process for everything needed. However, once you play with some of the existing projects they have available to you, it becomes easier to use. I am going to walk through the process I took to get OpenSSH 4.3 evaluated by tools available in the SWAMP.


Section 1: Get OpenSSH 4.3

  1. Click on the “Linux … For other OS’s “ link on the left
  2. Under “Developers” we see a link for repositories hosted at GitHub. Click that to bring you to https://github.com/openssh/openssh-portable.
  3. We are in the “Portable” version of OpenSSH hosted on GitHub. Click on the “130 releases” link for this repository. We want to go back to version 4.3. Also, the number of releases may be different by the time you read this.
  4. Browse through the list of releases (back a few pages) to see the v4.3 P1 release:

  5. Click on “zip” to download the archived snapshot of the OpenSSH v4.3 P1 release
  6. Extract/double click on the downloaded archive to open it up
  7. Browse through the folder of OpenSSH 4.3 to the “INSTALL” file
  8. Open up “INSTALL” with a text editor
  9. To perform a basic installation, the instructions are:

    “To install OpenSSH with default options:

    ./configure
    Make
    make install

  10. Seems pretty straightforward to get this installed


Section 2: A nice view of the SWAMP

  1. Sign up to create an account and come back to the main page once that is done
  2. Once logged in, click on “Packages”
  3. Click “Add New Package”
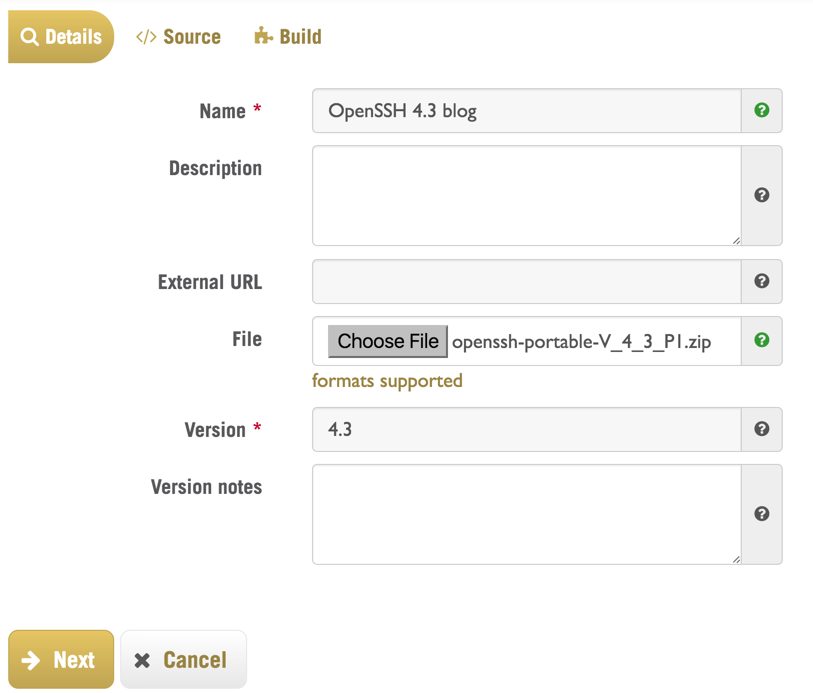
  4. Fill in the required details and other parts as you’d like. Upload the OpenSSH 4.3 archive from the previous step. Click “Next” once complete. This is mine:


  5. This next step should fill in the details automatically as below:


  6. Click Next
  7. This page has a lot of options and things to add in as we can see:


  8. The “Build script” window is the most important window to focus on right now. The contents in the grey box will be executed on the virtual machine in the SWAMP. We know from the instructions that we should do a “./configure; make; make install” to get this to run. We also see the warning in the yellow box that no “makefile” can be found. Let’s see what happens!
  9. Click “Save New Package”
  10. Click “OK” to the notification window
  11. Now that our package is created, scroll to the bottom of the window and click “Run new assessment”
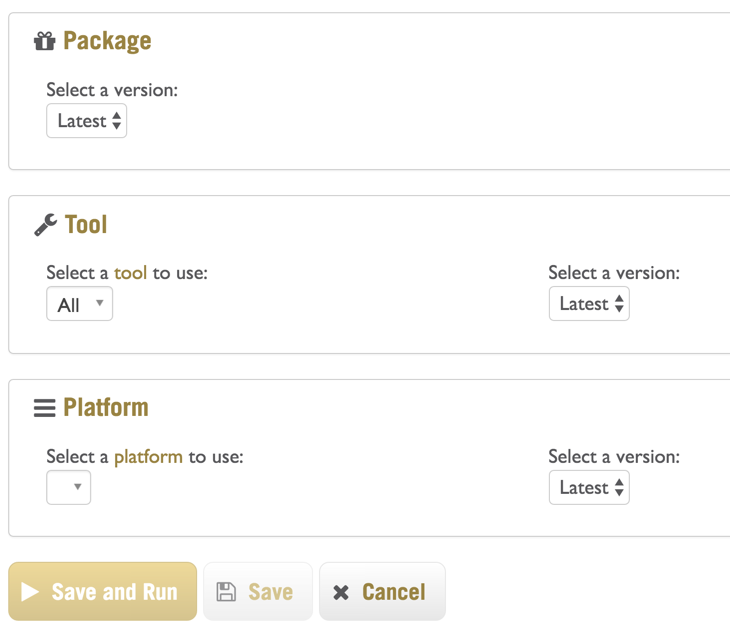
  12. The assessment window has many tools available to run against a variety of languages. You should be here now:


  13. We’ll let the SWAMP use all available tools with the latest version possible
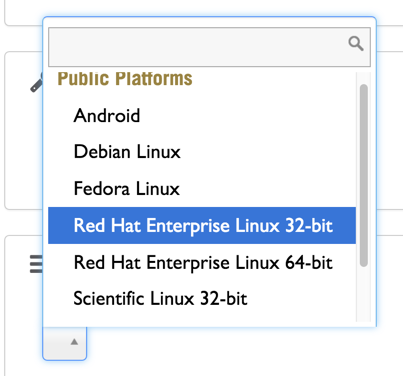
  14. For the Platform, we have a variety of Linux options. As OpenSSH 4.3 came out in 2006, we should stick with a 32-bit system for better compatibility. We can see a selection of options as below:


  15. Choose “Red Hat Enterprise Linux 32-bit”
  16. At the time of this writing, there are two options of “Latest” and “RHEL 6.4 32-bit”. Both choices are the same option of “RHEL 6.4”. Leave it as “Latest” and click “Save and Run”.
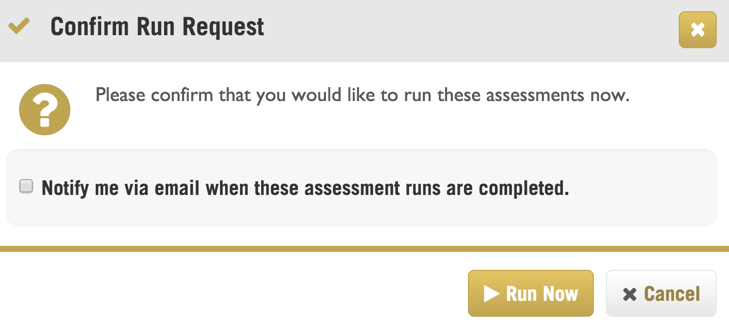
  17. You can chose to let the SWAMP send you emails about the status of the assessment and if you want the software to be assessed.


  18. Click “Run Now”
  19. Click “OK” in the notification window
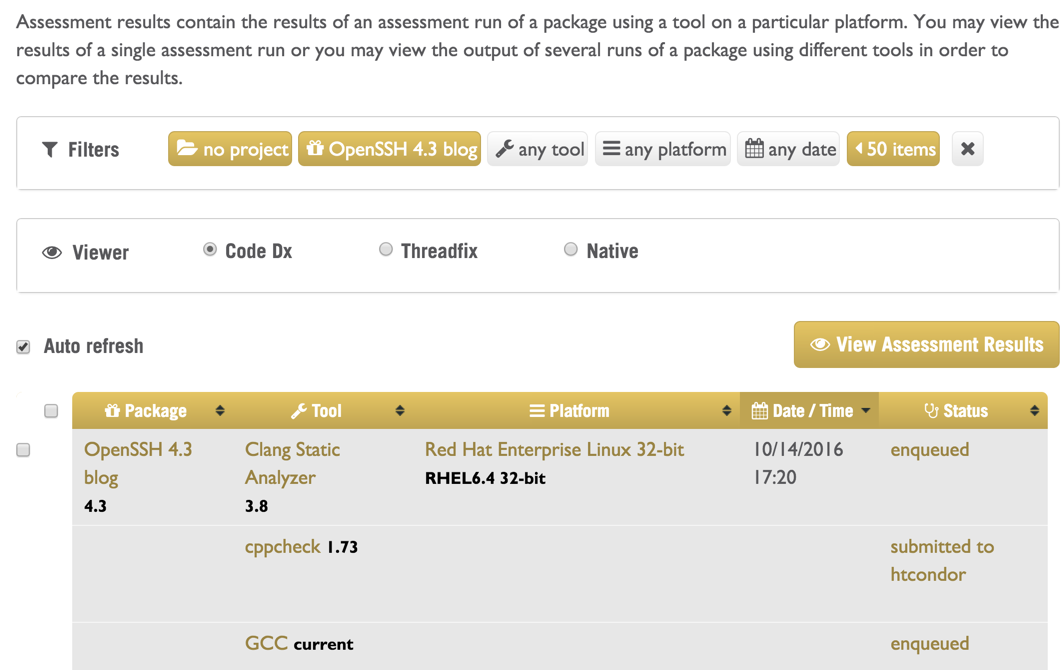
  20. Click the checkbox for “Auto refresh” for the status to be automatically updated


  21. The SWAMP will process OpenSSH 4.3 against the Clang Static Analyzer, cppcheck, and gcc tools. Here are the descriptions for these three tools from the “Tools” page:

    Clang Static Analyzer


    cppcheck


    gcc


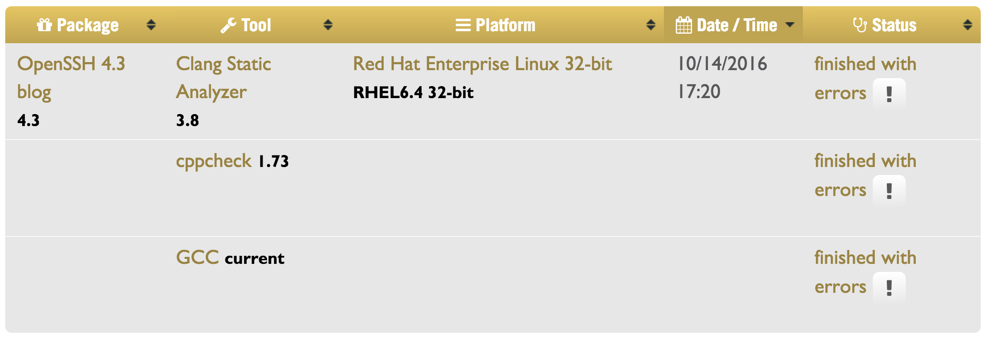
  22. After a short period of time, the assessment will pass or fail
  23. Unfortunately, this assessment will fail:


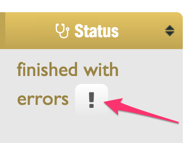
  24. If we click on the exclamation point for any of the tools, we’ll get more details of the failure. Click the exclamation point for Clang to open up a failure report.


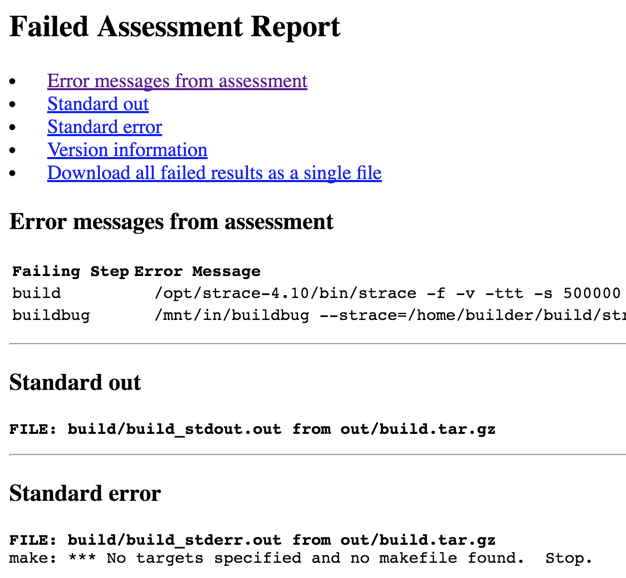
  25. In the failed assessment report, we get a lot of detail. At the bottom we can see the error of why this run failed.


  26. As we saw from earlier and now in this report, there is no makefile to run. That issue will be covered in the next post!