The previous posts set the scene of how to get packages to run in the SWAMP. We are going to fix the “configure.ac” error identified in the previous SWAMP build process.
Section 1: What seems to be the problem
Section 1: What seems to be the problem
- The issue was saw in the previous post was reported in ./configure with line 15,218
- However, the “./configure” program was automatically generated at runtime of the build process in the virtual machine from autoconf. So this is not a file that we can edit and fix the error above. However, we do have a “configure.ac”.
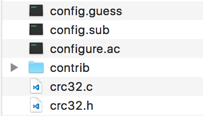
- Go to the location in your file system where we expanded the OpenSSH archive
- Here we can see “configure.ac”
- Open up “configure.ac” in a text editor
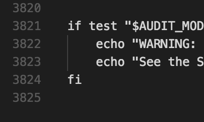
- If we scroll to the bottom of the file, we can see that there are only 3,825 lines of code
- If there are problems, we may be able to find a bug report relating to something we encounter. Luckily for us, there was a bug to address the problem we are seeing above. Let’s review the release notes for the next minor release of OpenSSH which was 4.4.
- At the end of the release notes, we can see bugs filed in their bug tracking system. One particular bug seems to be directly related to the issue we see above.
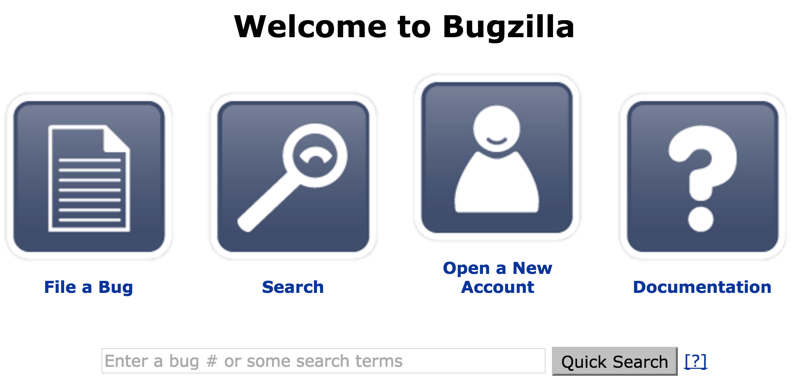
- At the top of the list, they provide a URL to their bug tracking system at http://bugzilla.mindrot.org
- Enter in 1203 in the search bar and click “Quick Search”. “1203” is the bug number associated with the “configure.ac” issue from the OpenSSH 4.4 release notes.
- Quick search brings us to https://bugzilla.mindrot.org/show_bug.cgi?id=1203
- There are a bit of detail on this page. Scroll down to “Comment 1” and click on “details”.
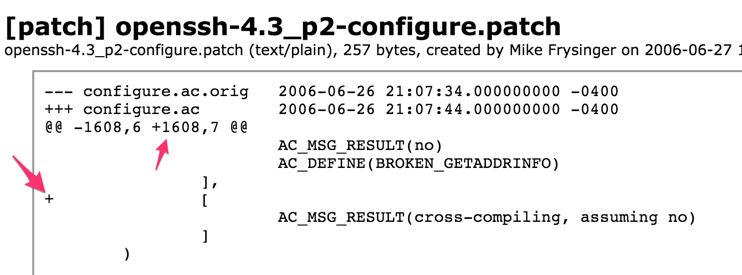
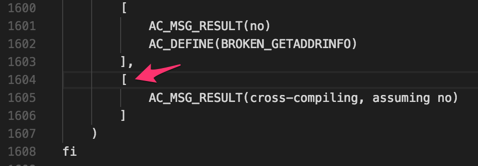
- In the details page, we can see the code changes added in patch 2 for OpenSSH 4.3 (known as OpenSSH 4.3 p2). We can see that line 1608 was added that was a “[” character added which properly closed the block in the “configure.ac” file.
- Rather than download patch 2, we are going to go another route


Section 2: Fix ‘er up
- Browse to the file system with OpenSSH 4.3
- Open up “configure.ac” with a text editor
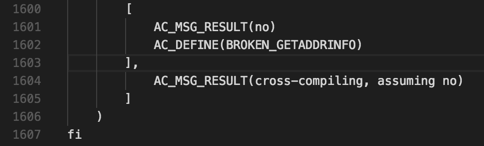
- Browse to line 1603
- We can see there is no opening “[” line as we saw from the bug report earlier. We can see the previous block there are corresponding “[” and “]” characters. Let’s add in a “[” character.
- Now the block should look like this:
- Save the file and close it
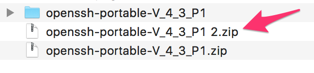
- Go up one directory and use any method available to you to archive up this new version of OpenSSH 4.3. For instance, on a Mac, right click on the folder and click “Compress”.
- We should have an archived copy of OpenSSH 4.3 with our fix for “configure.ac”
- Now we need to create a new package with this new version of OpenSSH or add this copy to the existing OpenSSH 4.3 blog package. Let’s just create a new package in the next section.

Section 3: Try this on for size
- Log into the SWAMP if not already (https://www.mir-swamp.org/)
- On the homepage, click on “Packages”
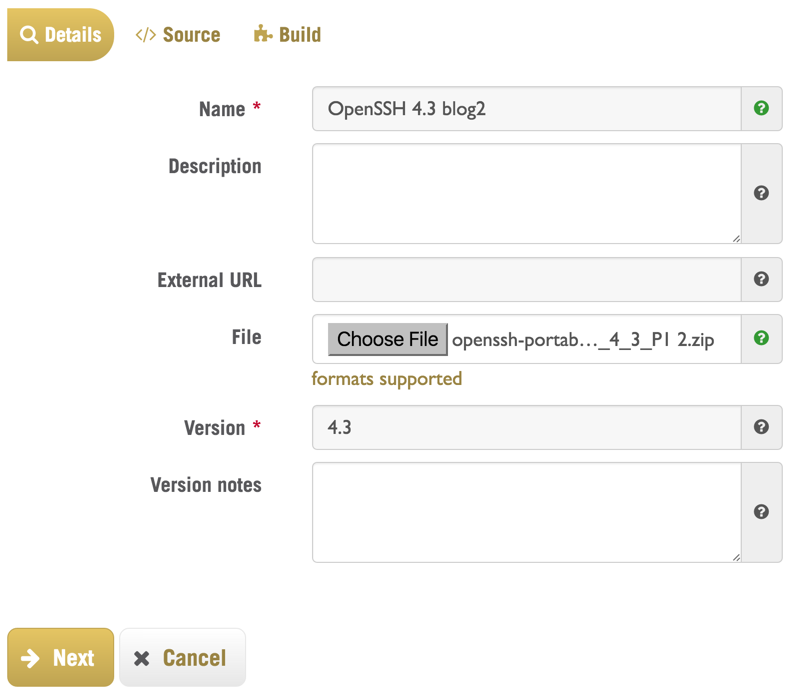
- Click “Add New Package”
- Give this new package a new such as “OpenSSH 4.3 blog2”, upload the new archived copy of OpenSSH 4.3, and change the version number if you’d like
- Click “Next”
- Your mileage may vary, but on a Mac, when we bundled up this archive, there are two folders from the root. There is the OpenSSH folder and a MACOX folder.
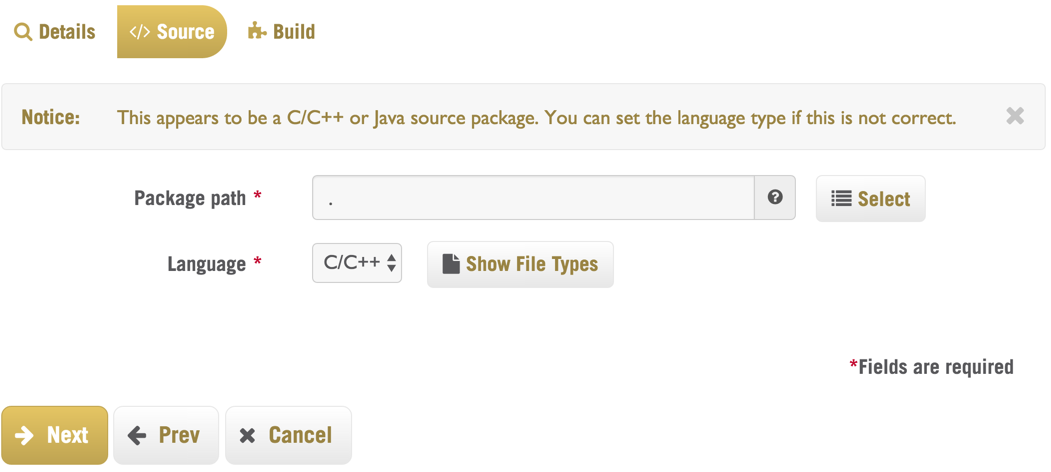
- In the “Source” screen, click “Select”
- Here we can see the two top level folders
- Click on “openssh-portable-V_4_3_P1” and click “OK”
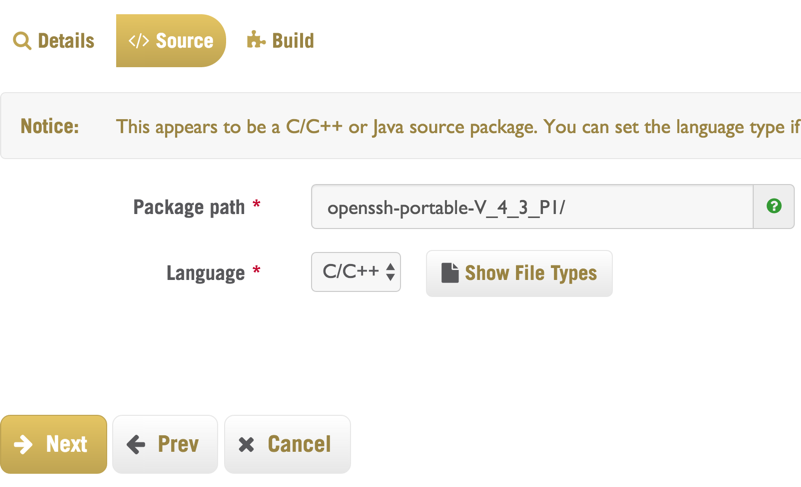
- Now we know for sure that the build process will kick off in the right folder as we can see below
- Click “Next”
- Change the build system to “Configure+make”
- Add in “autoconf; “ in the “Configure command” line
- Add in “; make install” in the “Build options” line
- We can see the commands that will be ran in the build process in the RHEL VM
- Click “Save New Package”. Sometimes I have to click this button twice.
- Click “OK” to the notification window
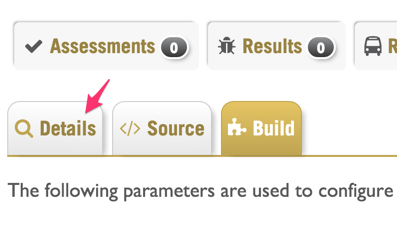
- Click “Details”
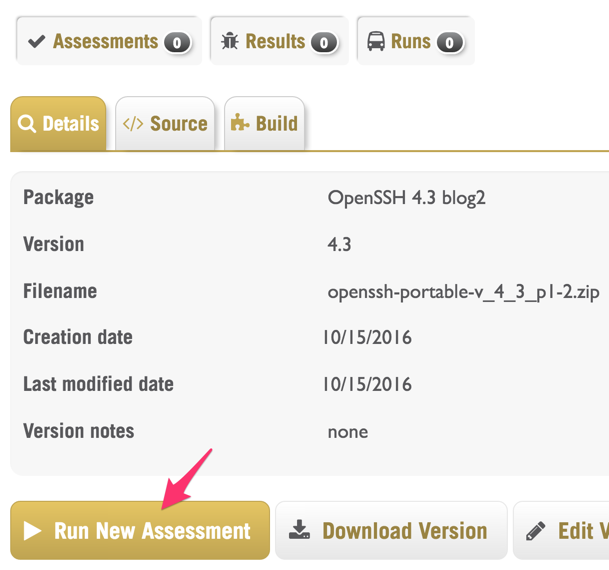
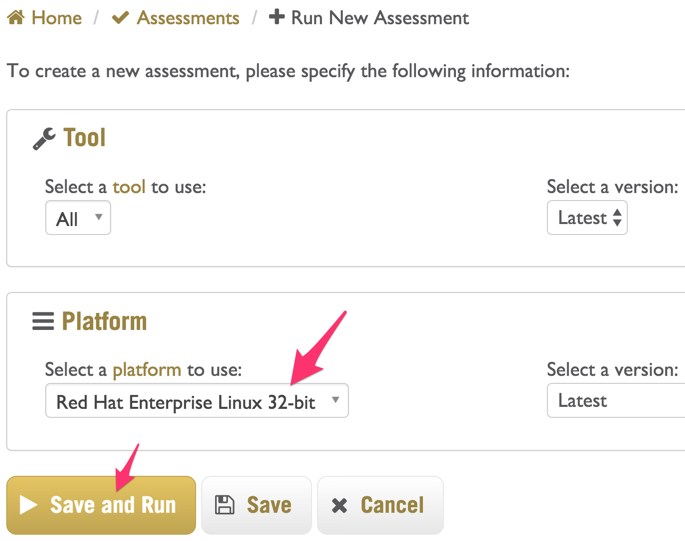
- Click “Run New Assessment”
- Change the “Platform” to “Red Hat Enterprise Linux 32-bit” and click “Save and Run”
- Check the box if you want to be emailed a notification. Click “Run Now”.
- Click “OK” in the notification window
- Now we wait for our build to process and see if this build was successful or not
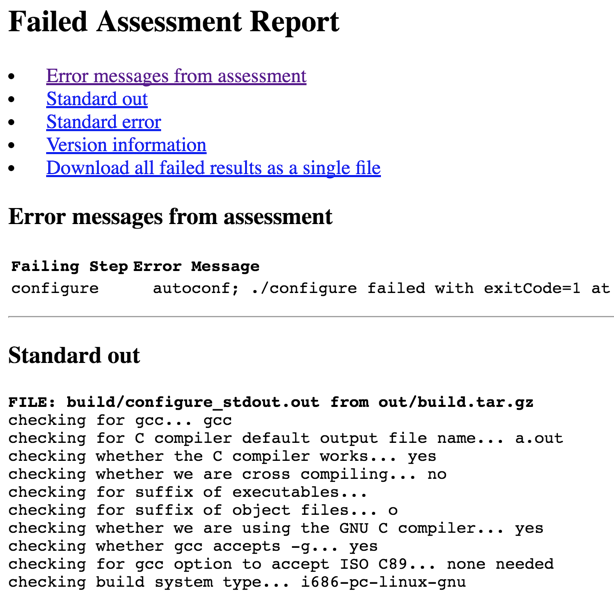
- Unfortunately, this still fails, but it’ll be a new error!
- Click on the “!” exclamation point on the Clang line
- Scroll to the bottom of the failure report
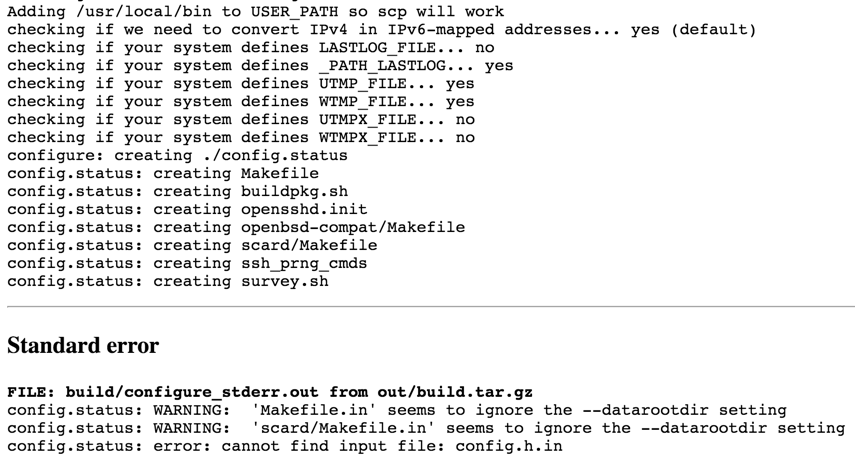
<more lines from the configure output> - Well, now we have a different error talking about “config.h.in” missing. As this file does not exist in the file system, we need to investigate this in the next post!


No comments:
Post a Comment